
Creating a template in Advanced Work Item Templates for Jira is quick and straightforward. Templates help your team save time by pre-filling work item fields automatically when creating Bugs, Tasks, or Stories in Jira.
How to Create a Template
-
Navigate to Apps → Advanced Work Item Templates for Jira .
-
Click + Create Template.
Step 1 : Choose a Starting Point
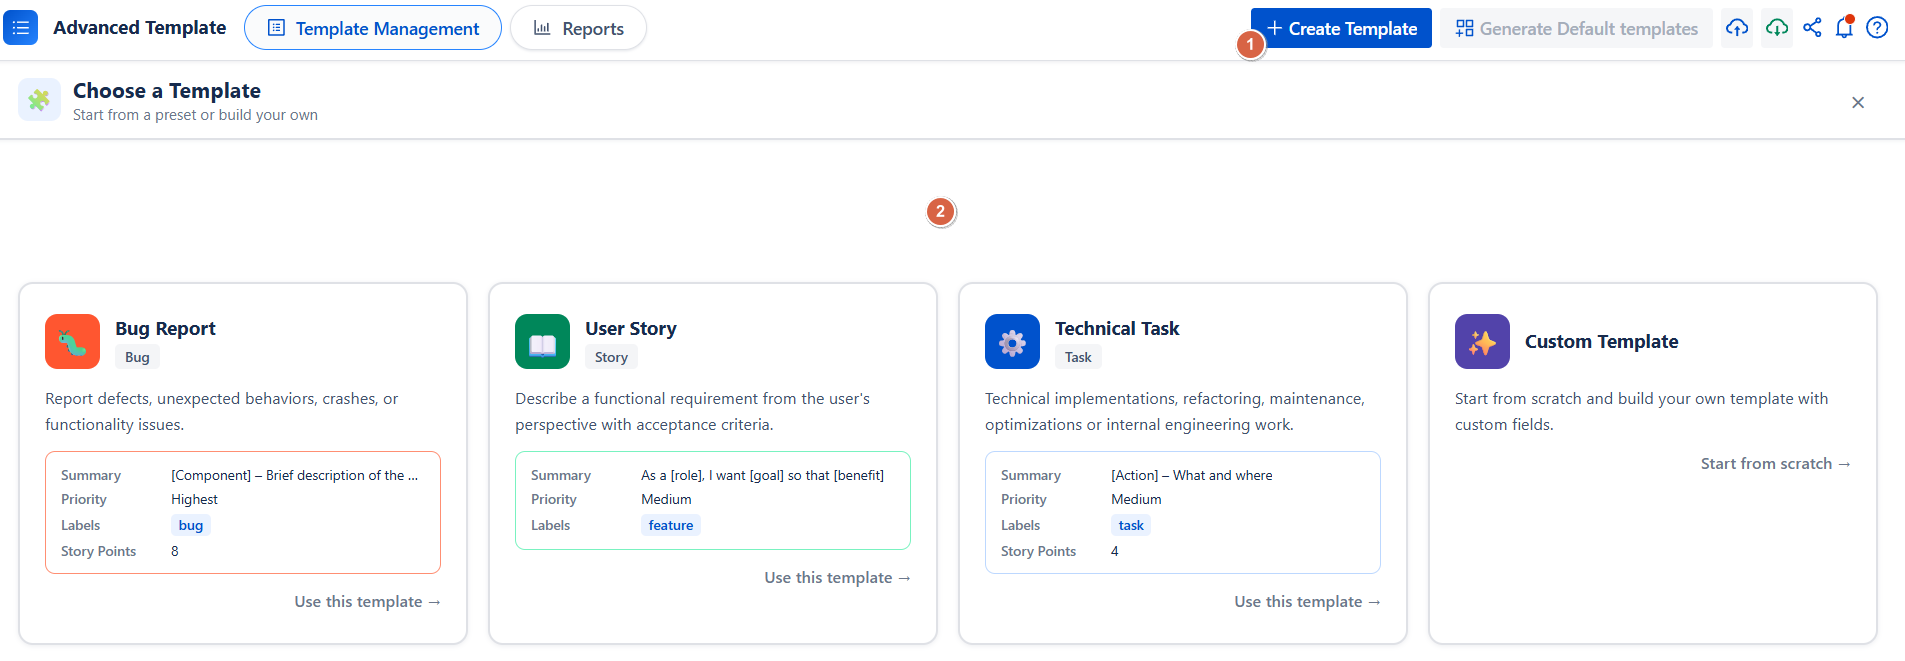
Now, you are first invited to choose how you want to build your template:
Option 1: Start from an option:
Choose one of the 3 ready-to-use reference templates:
-
🐛 Bug Report: pre-filled for reporting defects and unexpected behaviors
-
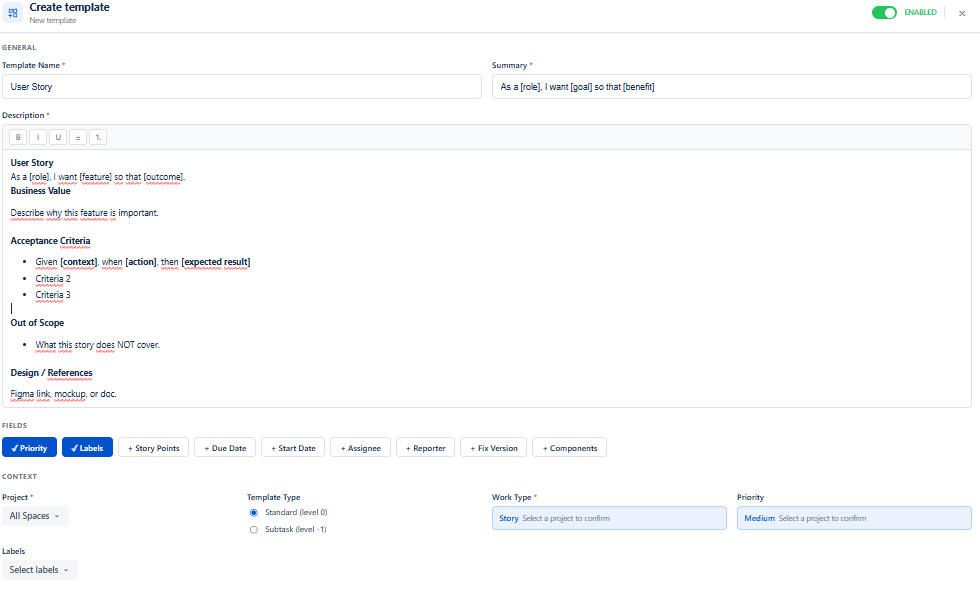
📖 User Story: structured around the standard As a [role], I want [goal] format
-
⚙️ Technical Task: designed for technical implementations and engineering work
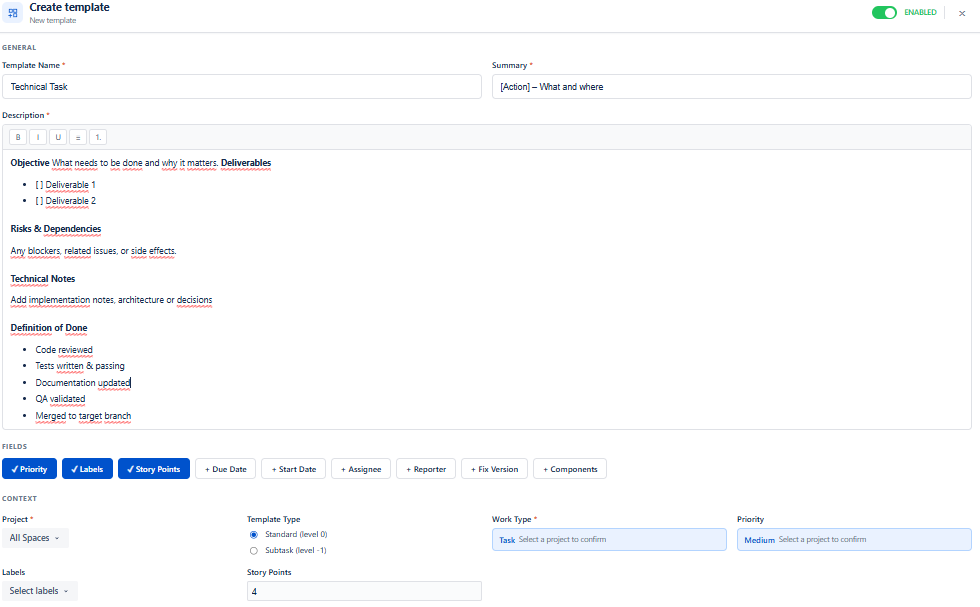
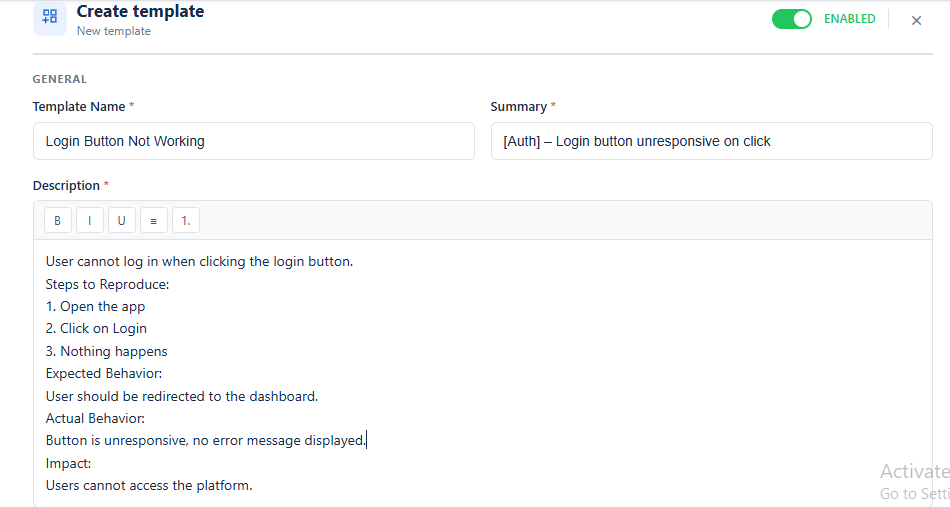
Each option comes with pre-filled fields such as Summary, Priority, Labels, and Description, helping you save time during setup.
Click Use this template → to continue and proceed with the selected configuration.
Option 2 : Custom Template
-
Start from scratch and build your own template with the fields and structure that fit your needs.
-
Click Start from scratch → to open a blank form.
-
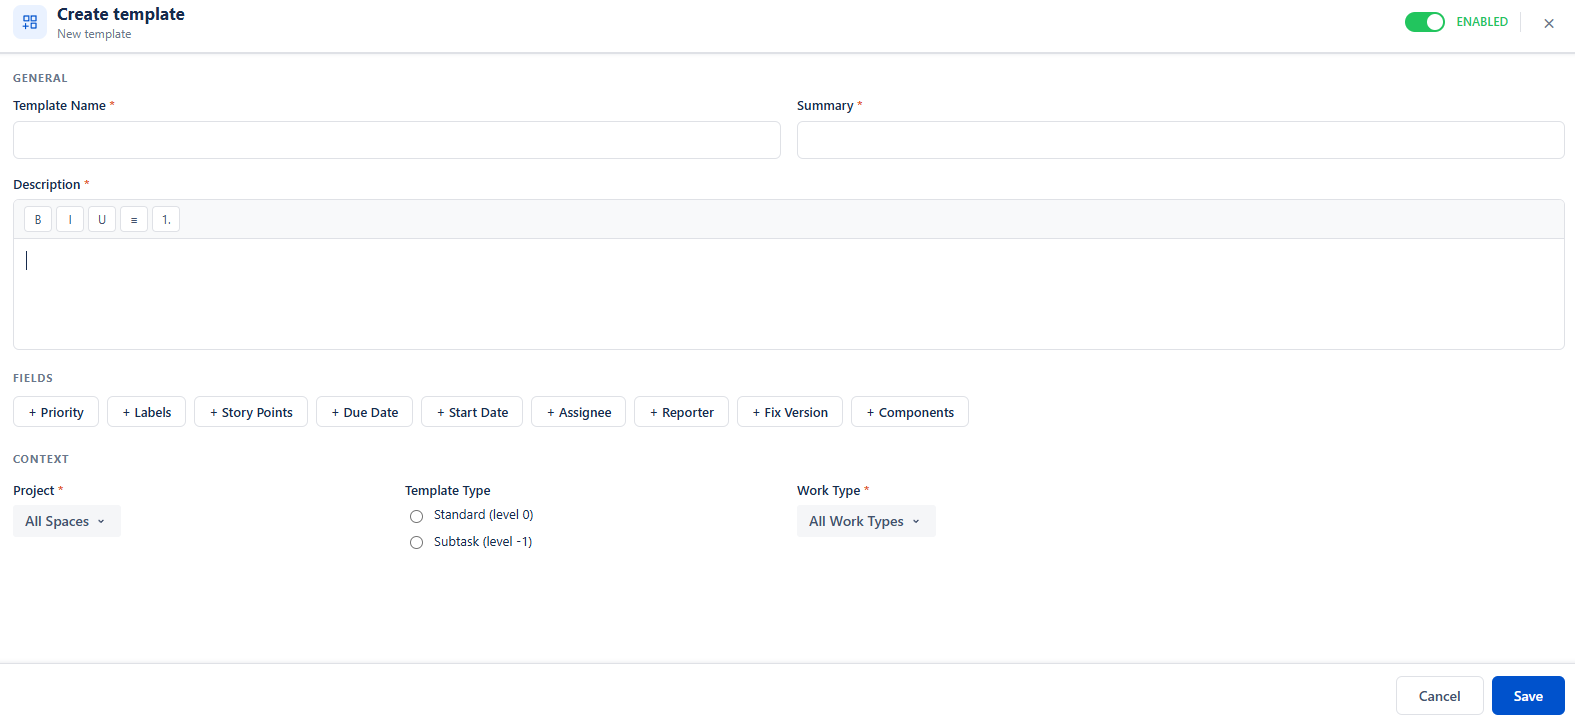
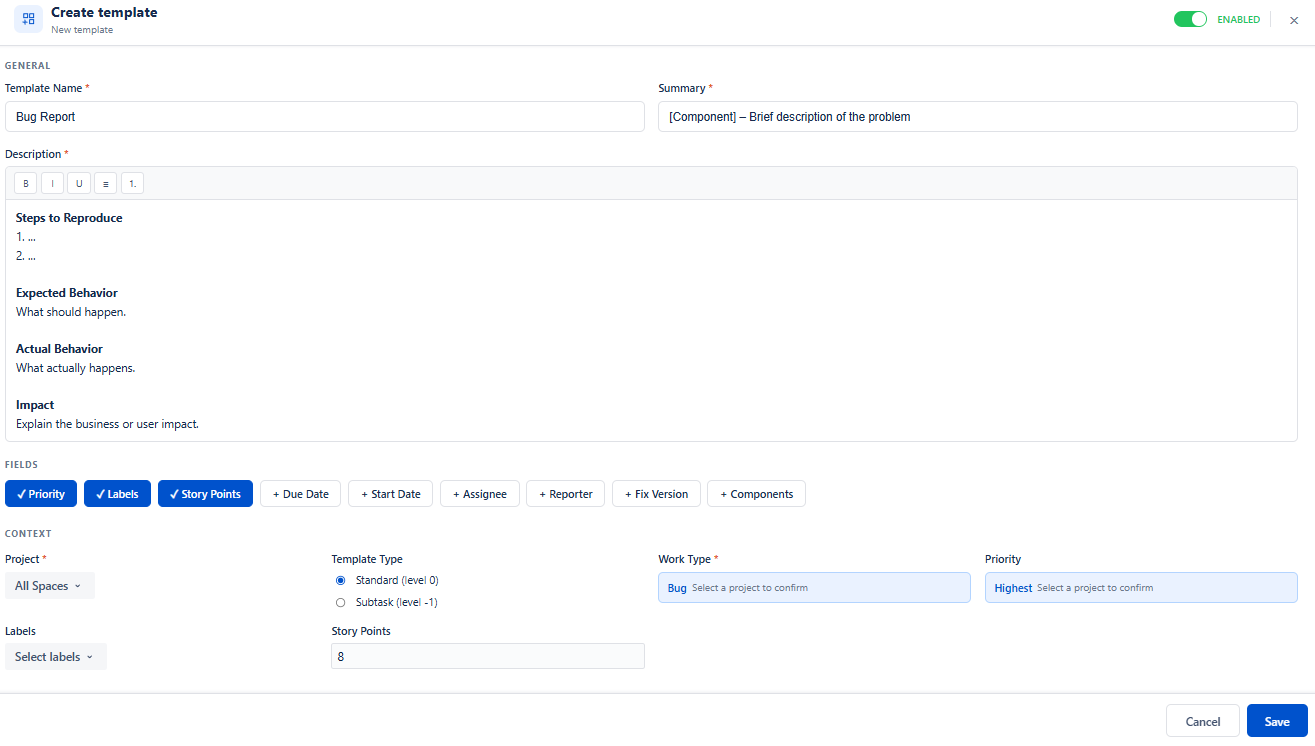
Step 2 : Fill in the Template Details
Once a starting point is selected, the creation form opens with the following sections:
General
-
Template Name (required): Give your template a clear name
-
Summary (required): A short description of the work item
-
Description (required): Rich text editor with Bold, Italic, Underline, and list formatting options
Context
-
Project (required): Select one or more projects to link the template to
-
Template Type: Choose between:
-
Standard (level 0)
-
Sub-task (level -1)
-
Sub-task must always be linked to a parent issue
-
Work Item Type (required): Select Bug, Task, Story, or other available types based on the selected projects
Fields (Optional)
Click any field button to add it to your template.
Available fields:
-
Priority
-
Labels
-
Story Points
-
Due Date
-
Start Date
-
Assignee
-
Reporter
-
Fix Version
-
Components
Each selected field will appear below the form for you to complete. Click the same field again to remove it from the template.
Step 3 : Save Your Template
Once all required fields are configured:
-
Review the Enabled toggle at the top right set it to ON to make the template immediately active
-
Click Save
Your template is now saved and ready to use!
Template Scope
A template is linked to specific Projects and Work Item Types. It is only applied when both conditions match during work item creation.
👉 Example: A template associated with the Cloud Project and Bug issue type will only be available when creating a Bug in that project.
To create templates, you need the appropriate permissions set by your Jira administrator. If you don't have permission:
-
You'll see an error message: "You don't have permission to perform create "
-
Contact your Jira administrator to request template creation access
Conclusion
Creating a template in Advanced Work Item Templates for Jira is a simple process that lets you standardize work item creation in Jira. With ready-to-use options or a fully custom setup, you can quickly define structured templates tailored to your team’s needs.
Need help?
💡 We're here for you! If you have questions or need to report a bug, visit our Help Center and raise a support ticket. Our team is ready to assist you!